3 Steps of an Oil Tank Installation
Installing an oil tank is an essential step for homeowners who rely on oil heating systems. Proper installation not only ensures efficiency but also enhances safety and longevity. This blog post outlines several key steps in the oil tank installation process, providing you with the knowledge to understand and oversee this significant home improvement task.
1. Preparing the Site for Oil Tank Installation
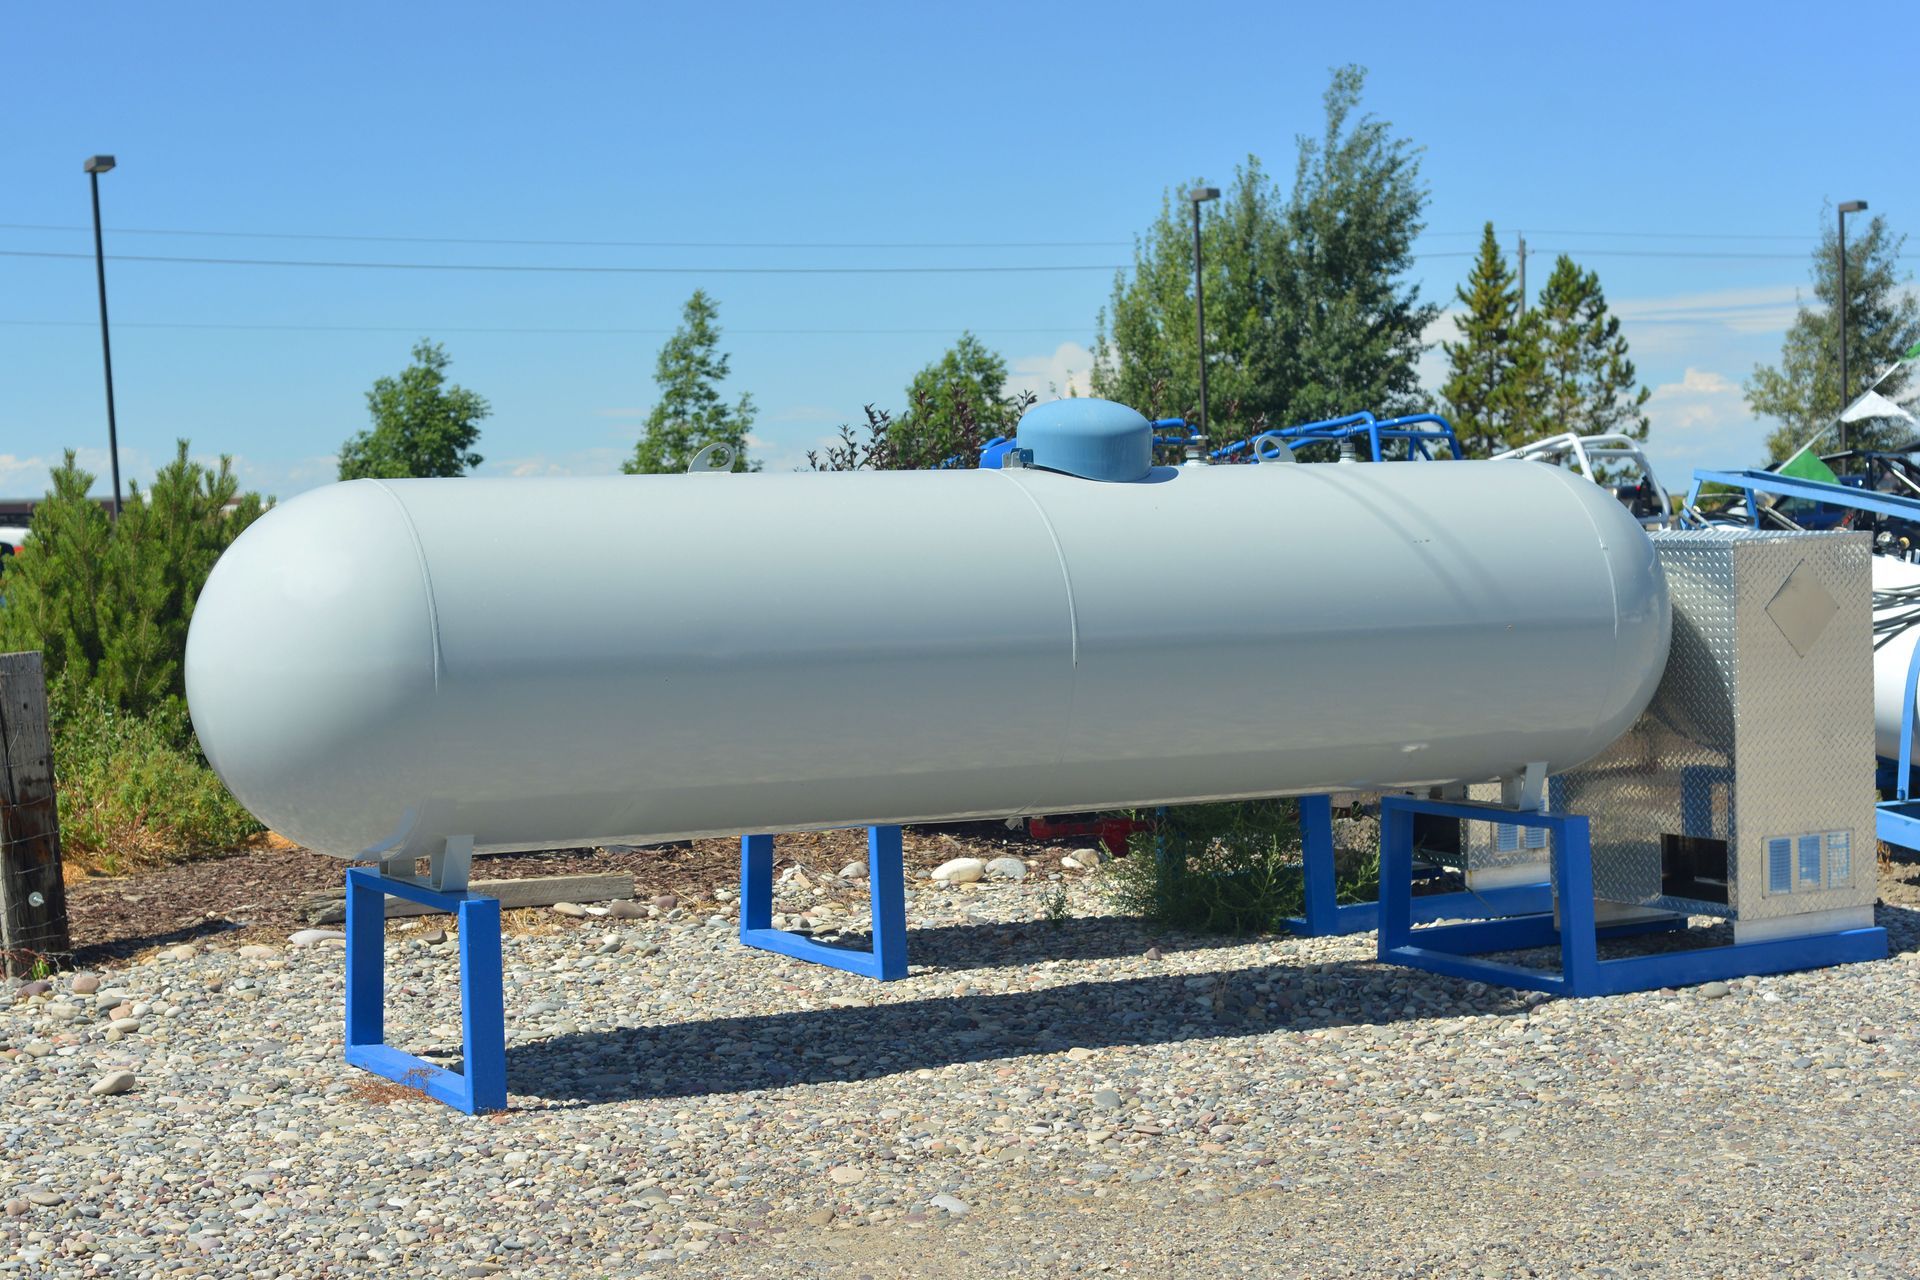
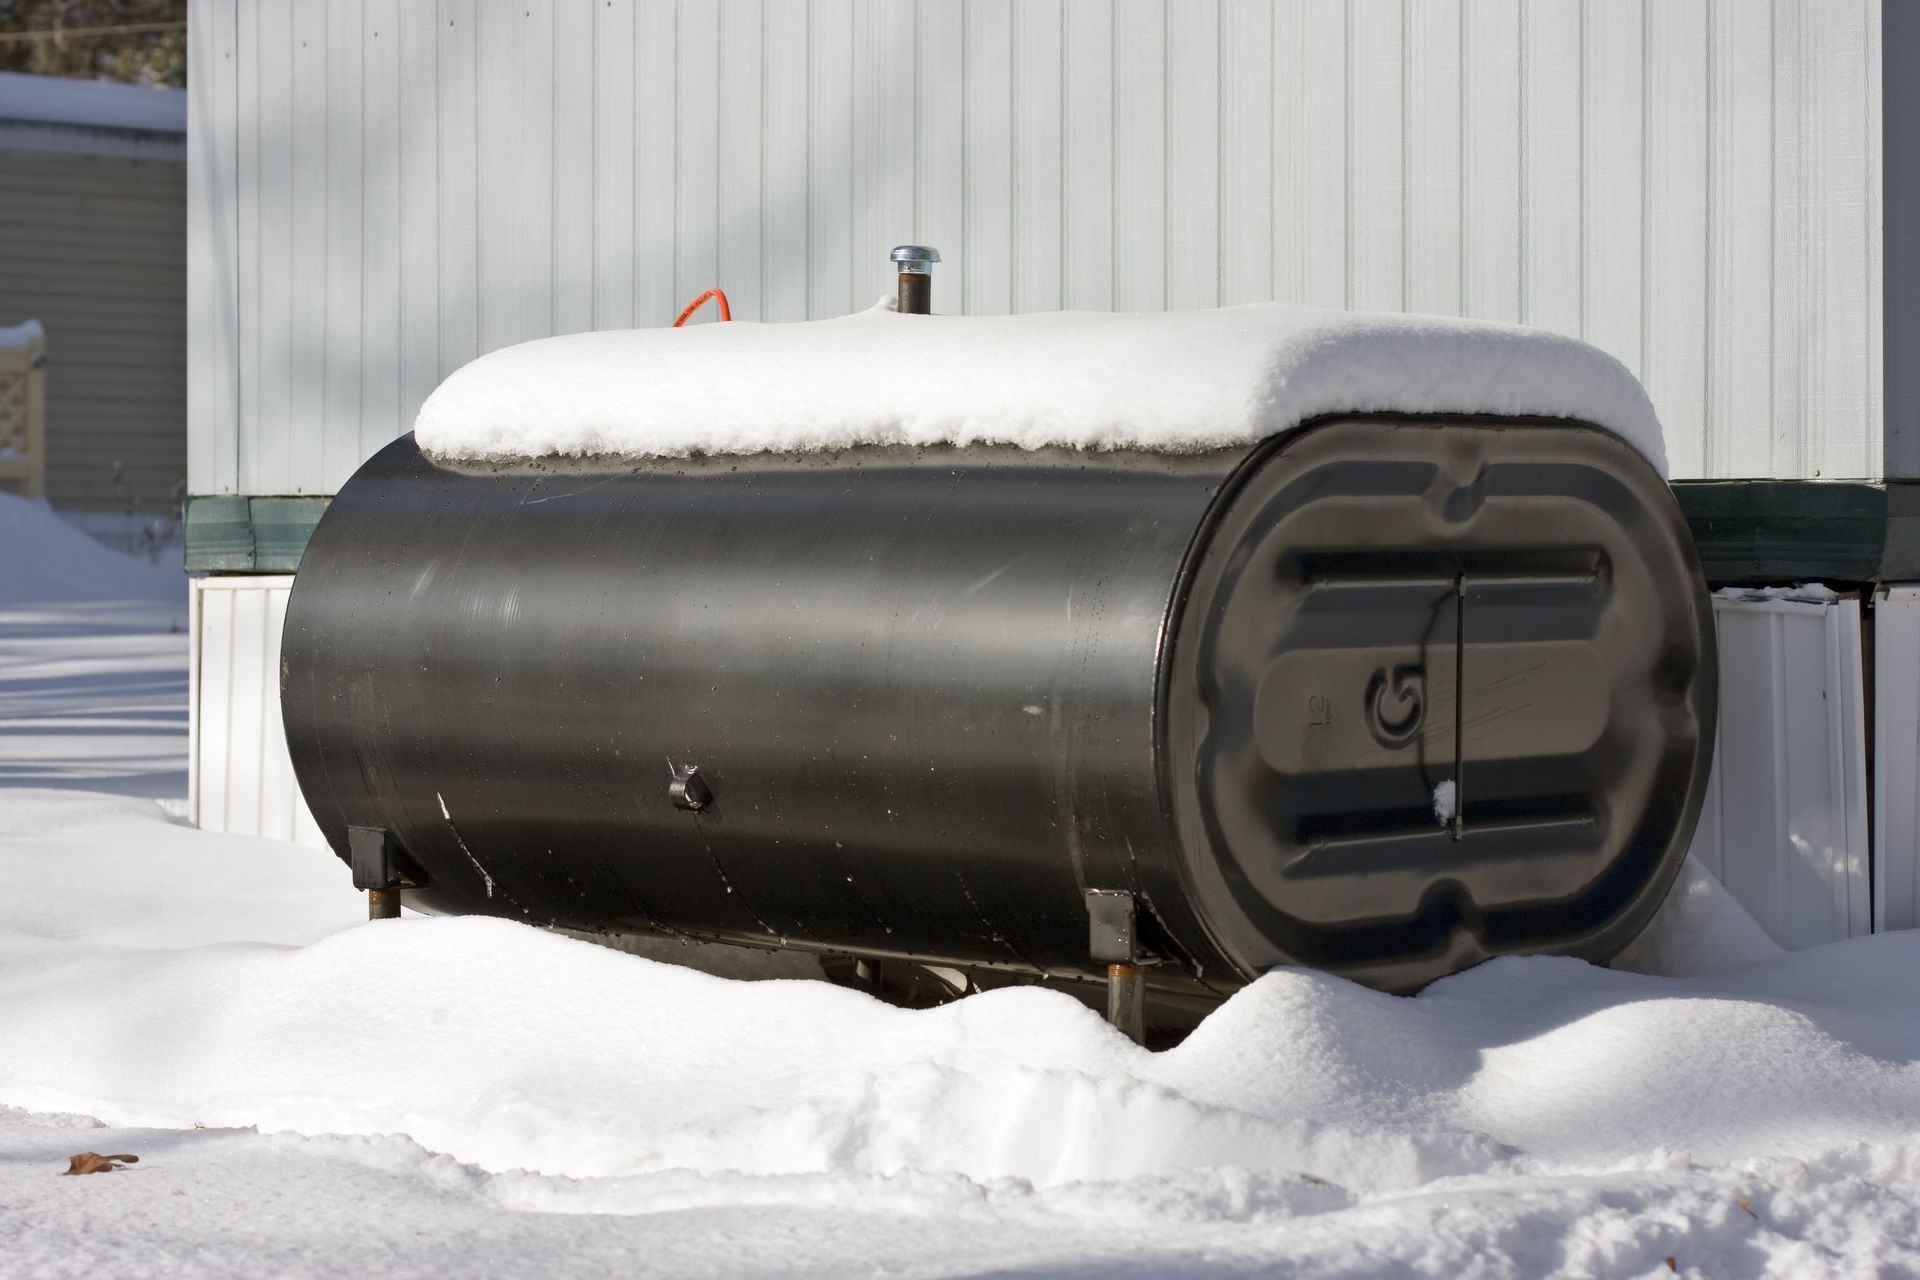
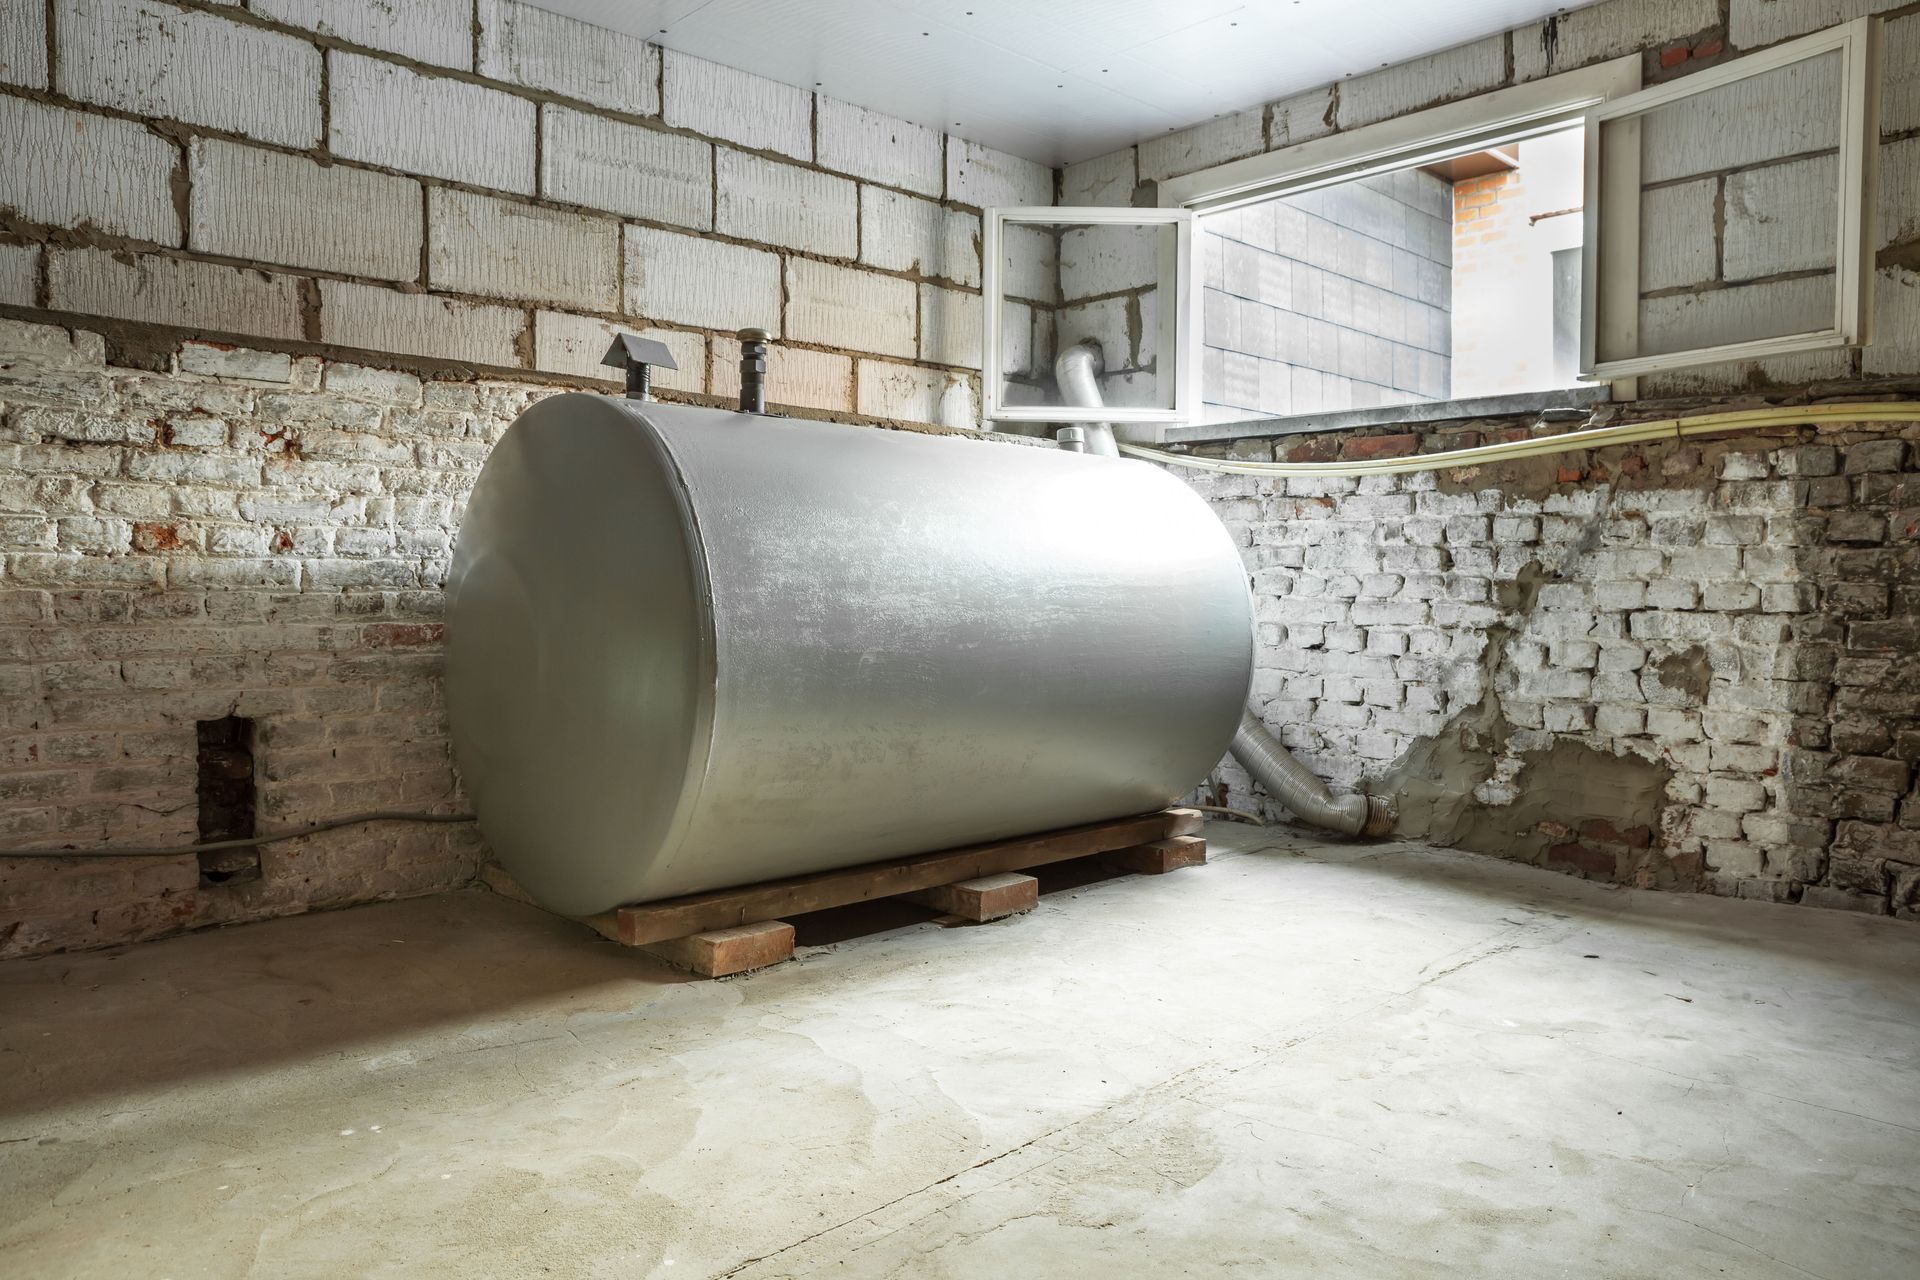
The first step in an oil tank installation is site preparation. It is imperative to choose an appropriate location compliant with local regulations and safety standards. The area should be free of obstacles and provide easy access for maintenance. The ground must be leveled to ensure the tank's stability, accommodating the tank's specific measurements, such as 11 inches for the tank legs at the outlet end and 12 inches at the opposite end, according to eHow. This difference helps maintain a slight grade toward the outlet, facilitating efficient oil flow.
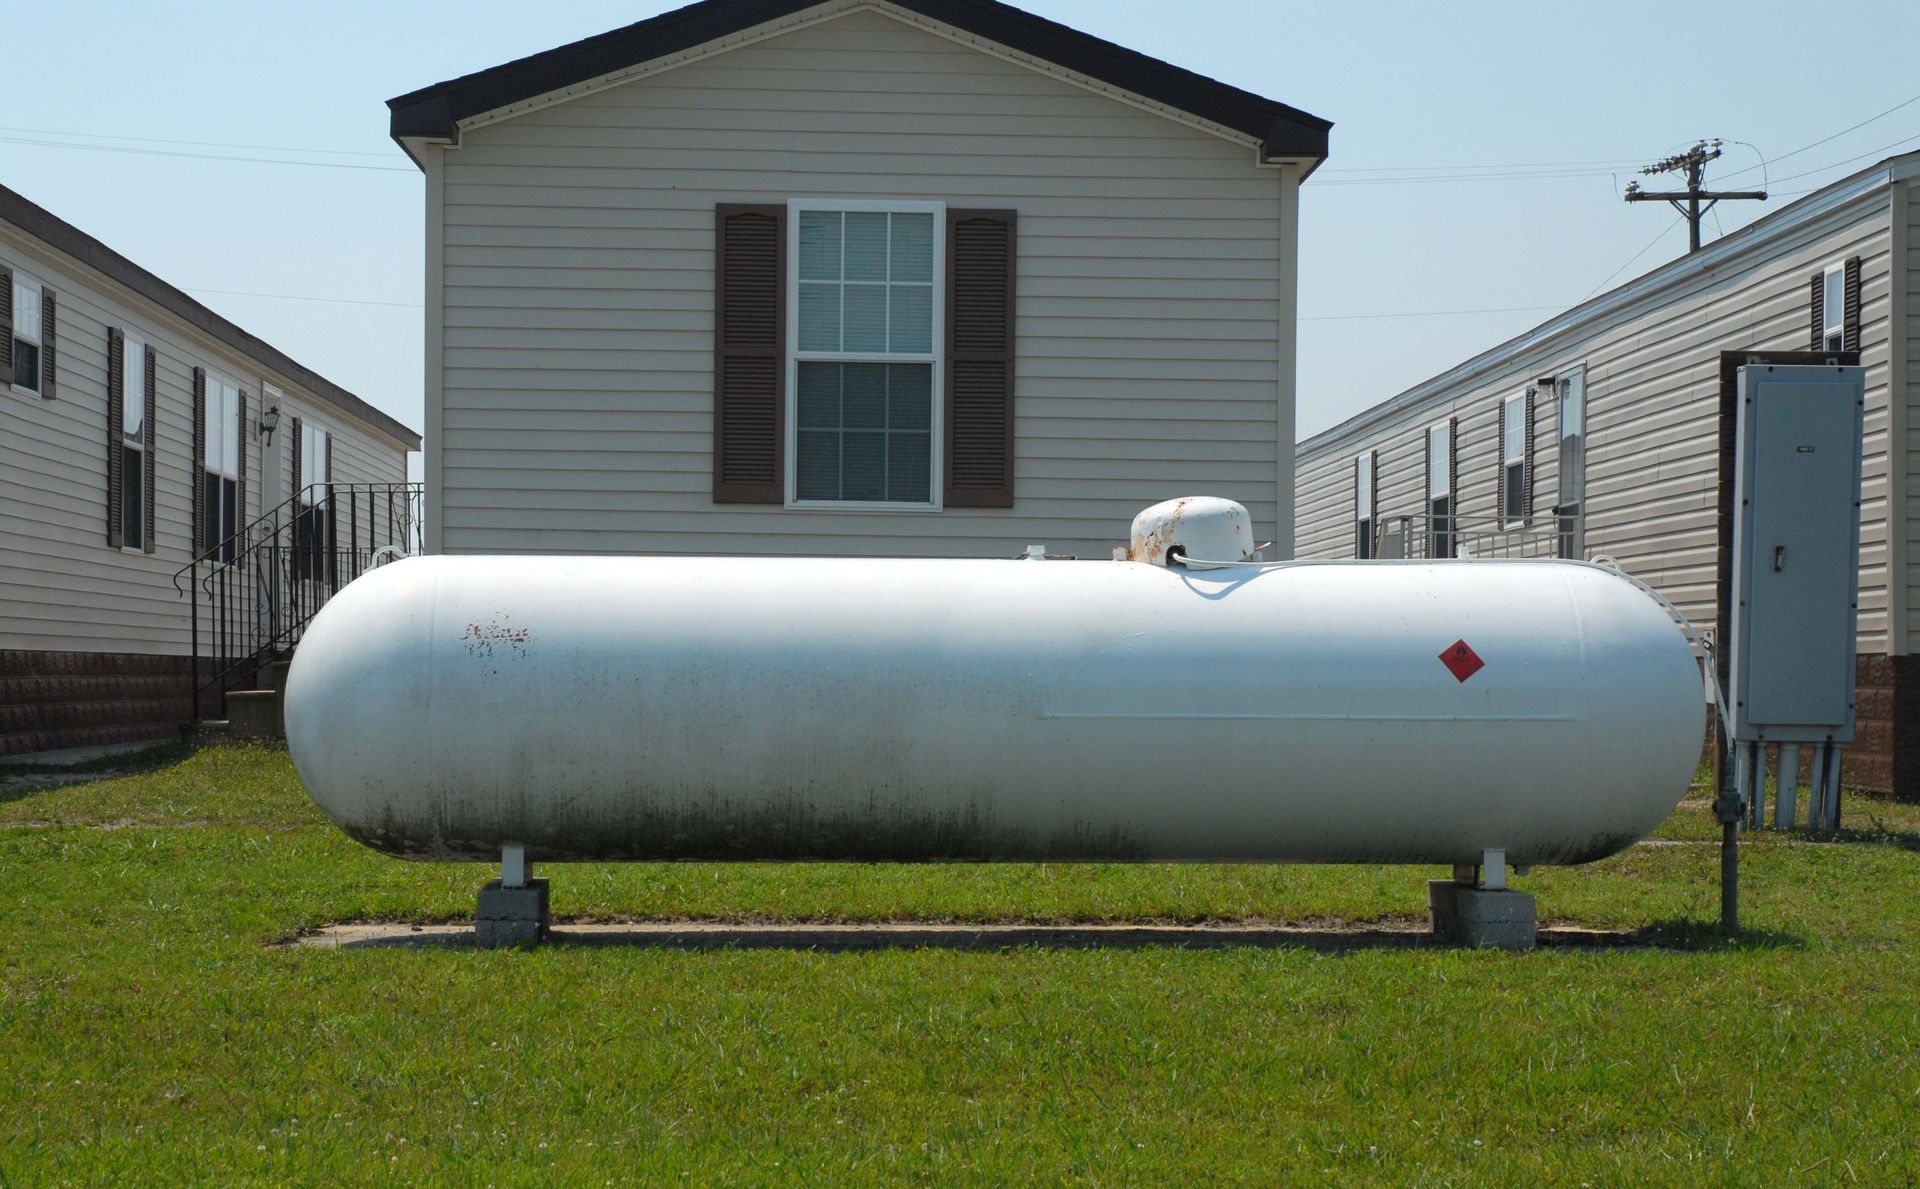
2. Installing the Tank and Connecting Equipment
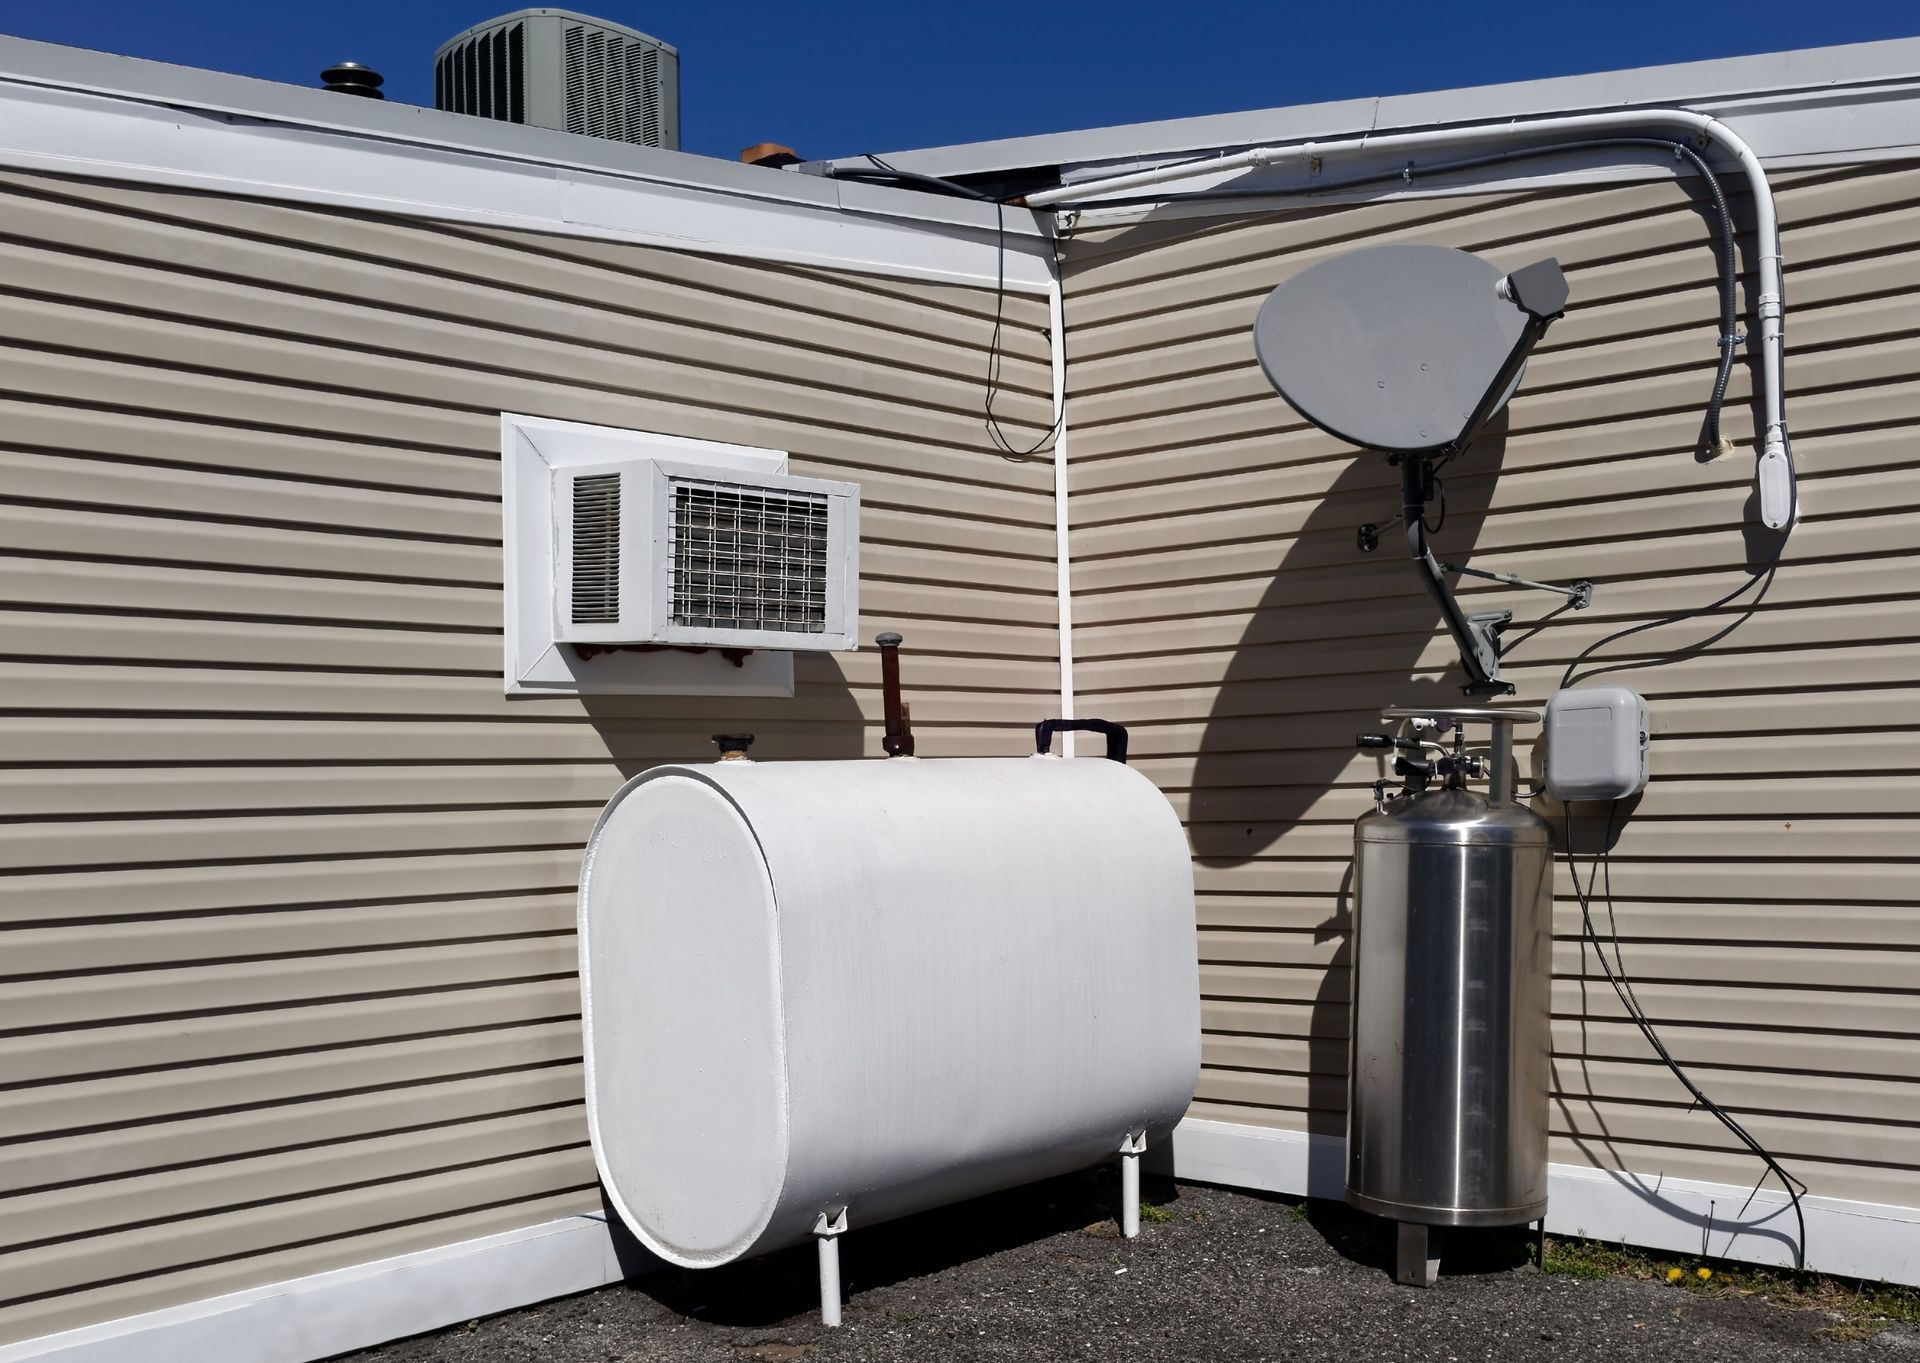
Following site preparation, installing the tank and its supporting equipment is critical. Position the tank in the predetermined spot, securing it on the legs mentioned and ensuring it's perfectly level. Attach the necessary plumbing, including the fill and vent pipes, to ensure compliance with environmental standards. Properly connecting these components helps prevent leaks and spills, which could lead to environmental hazards and costly repairs down the line. It's also important to follow local building codes and manufacturer guidelines during installation to ensure safety and long-term performance.
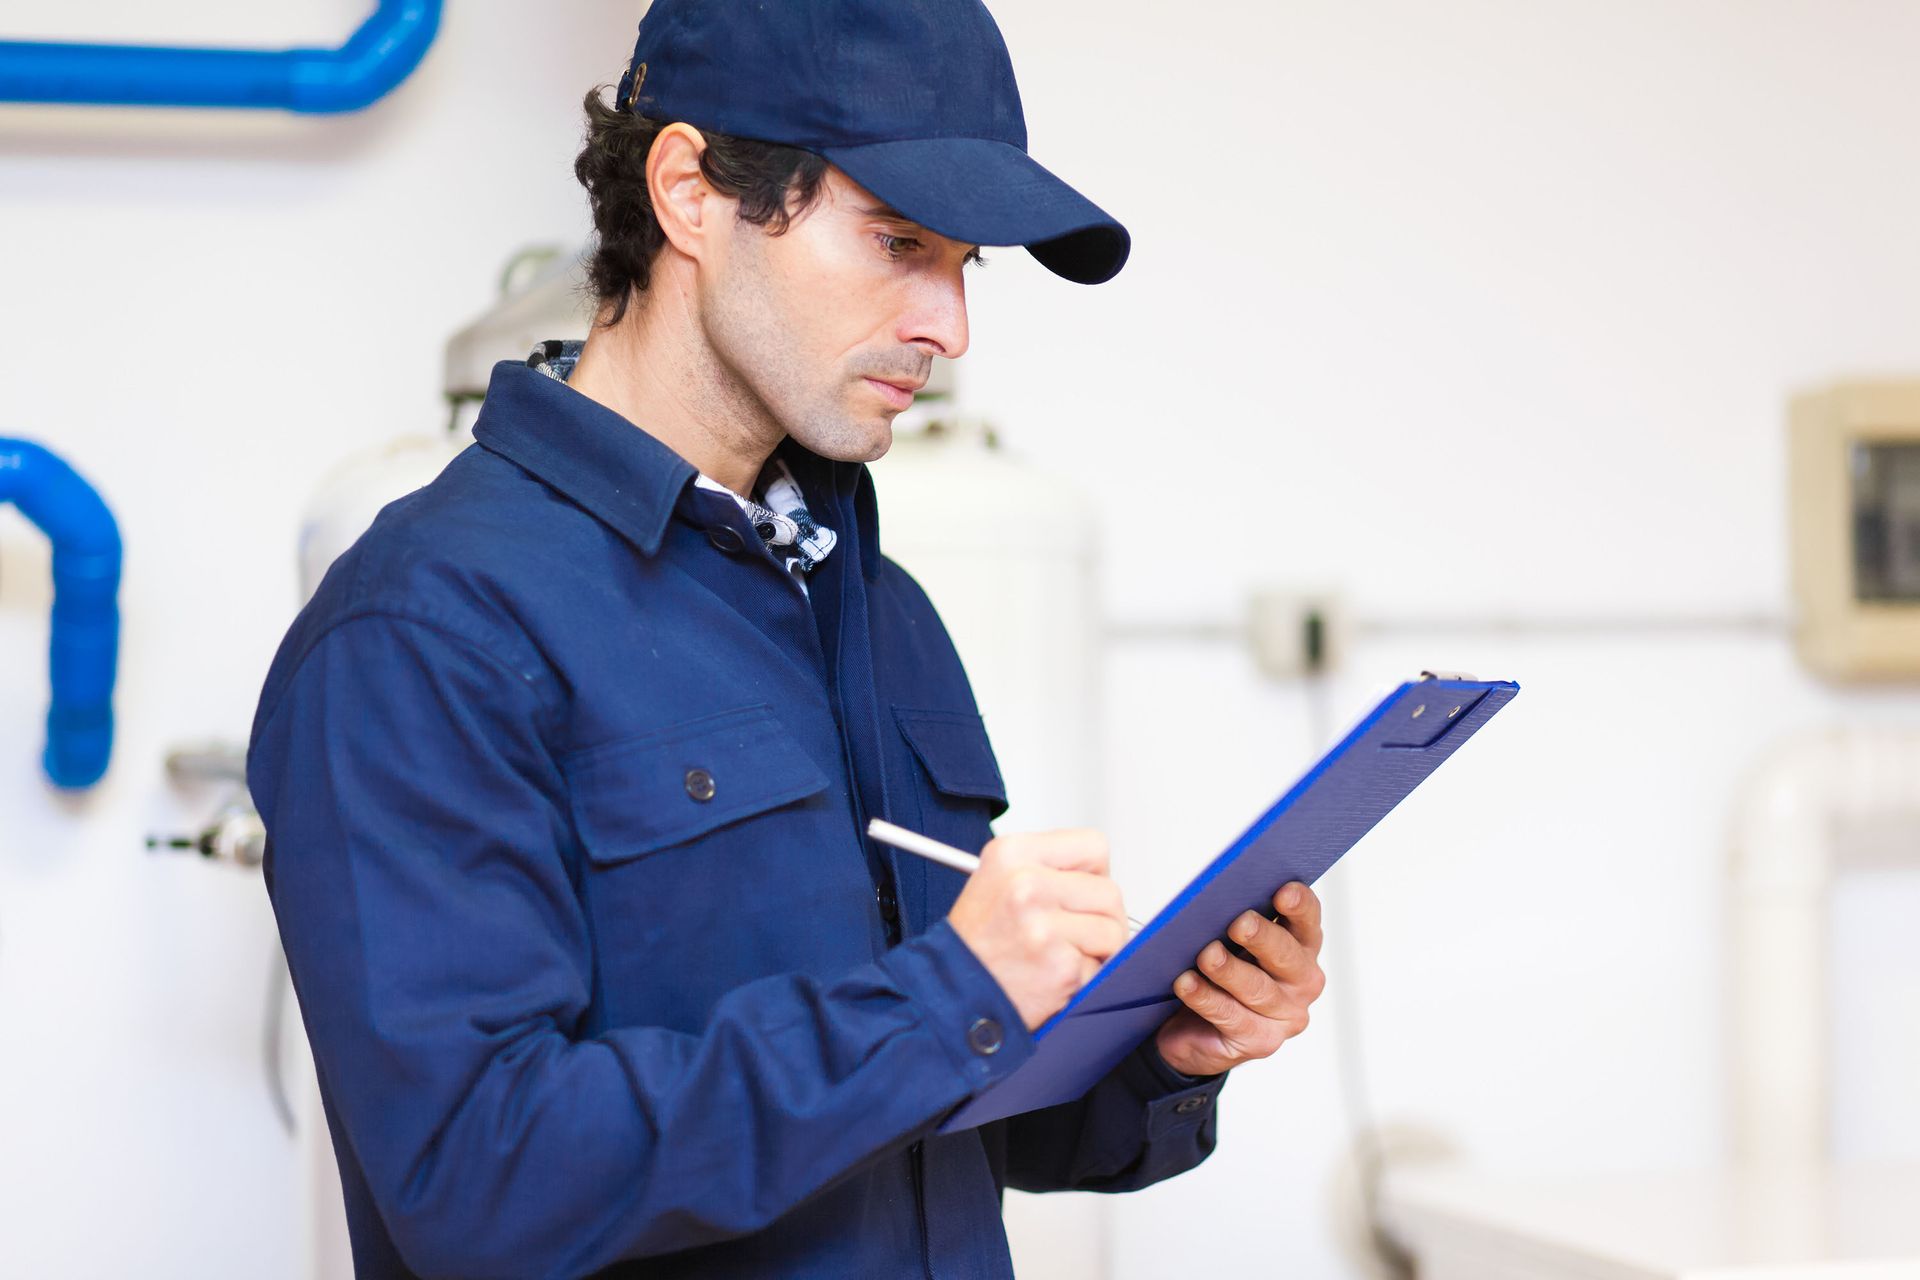
3. Conducting Final Safety and Functionality Checks
The final step involves testing the installation for functionality and safety. Once the tank and plumbing are in place, it's important to conduct a thorough inspection. This includes checking all connections for leaks, ensuring that the tank is stable, and that the oil flows correctly. Bring in a professional to certify your setup if necessary, as this final assessment can prevent future issues and confirm that the installation meets all safety regulations.
Oil tank installation requires meticulous planning and careful execution of several essential steps. From preparing the site and precisely leveling the tank to correctly connecting and testing the system, attention to detail is critical. When each stage is completed properly, the result is a safe, efficient oil tank installation that supports long-term home heating needs. For all of your oil tank service needs, contact Tank Specialists Plus, LLC.
Share On: